PapCam is a free Chrome extension that records your browser and turns the recording into a polished demo video. You record once, then the editor adds zooms, a clean background, a browser frame and more. This guide walks through your very first recording from install to editor.
Install PapCam
- Open the PapCam page on the Chrome Web Store and click Add to Chrome.
- Click the puzzle-piece icon in Chrome's toolbar and pin PapCam so it is always one click away.
- Open the website or web app you want to demo. Make sure it is a normal web page (an address starting with
https://orhttp://).
Choose what to record
Click the PapCam icon to open the popup. Under Choose what to record you get three sources:
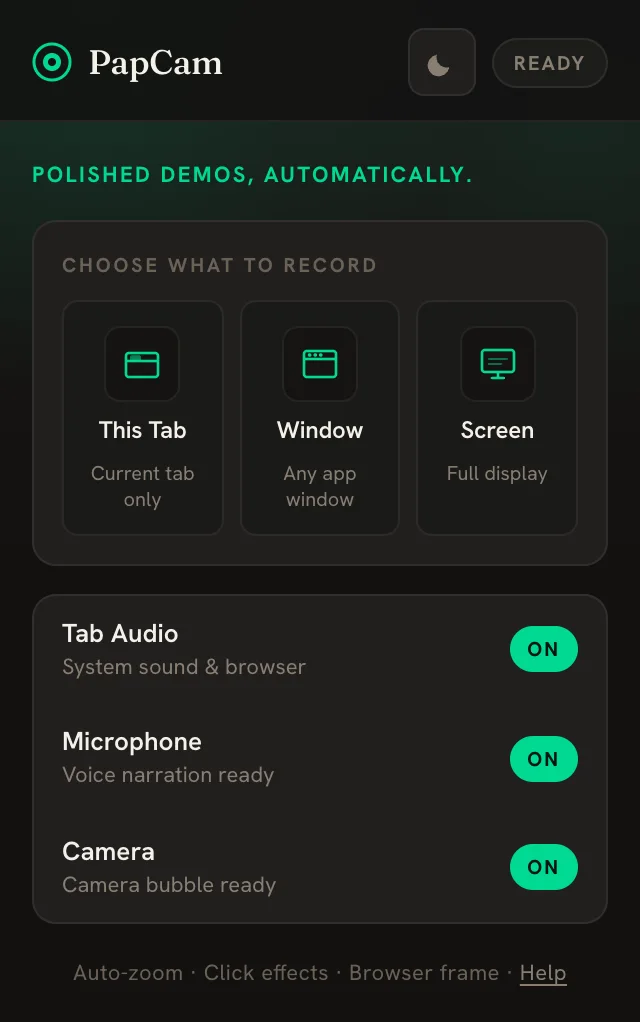
- This Tab — records only the current tab. This is the best choice for product demos: PapCam records every click and the mouse path inside the tab, which powers auto-zoom and the rendered cursor.
- Window — records any app window you pick in Chrome's sharing dialog.
- Screen — records your full display.
Set audio, microphone and camera
Below the sources are three switches. Click a switch to toggle it between ON and OFF:
- Tab Audio (system sound & browser) — on by default. Turn it off if the page plays sounds you don't want in the video.
- Microphone New in v0.5 — adds your voice narration, mixed into the recording.
- Camera New in v0.5 — records a webcam bubble that you can move and resize later.
The first time you switch on the microphone or camera, PapCam opens a small tab that asks Chrome for permission. Allow access there, then start recording from the popup again. See Webcam and microphone for details.
Record, pause and stop
- Click a source. For This Tab recording starts right away; for Window or Screen, pick what to share in Chrome's dialog.
- Do your demo at a natural pace. Click the things you want viewers to notice — each click becomes a zoom point.
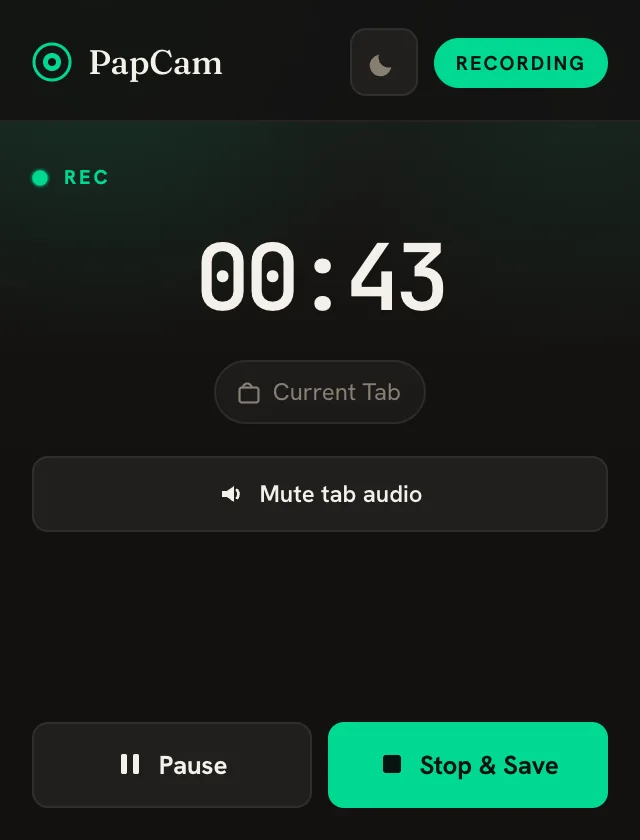
- Use Pause to stop the clock while you set something up, then Resume. Paused time is not part of the video.
- Press Stop. PapCam saves the recording and opens the editor in a new tab.
What you see in the editor
The editor shows a live preview in the middle, settings on the right and the timeline at the bottom. The left sidebar switches between panels: Zoom, Steps, Background, Frame, Captions, Overlays, Camera, Cursor and Export.
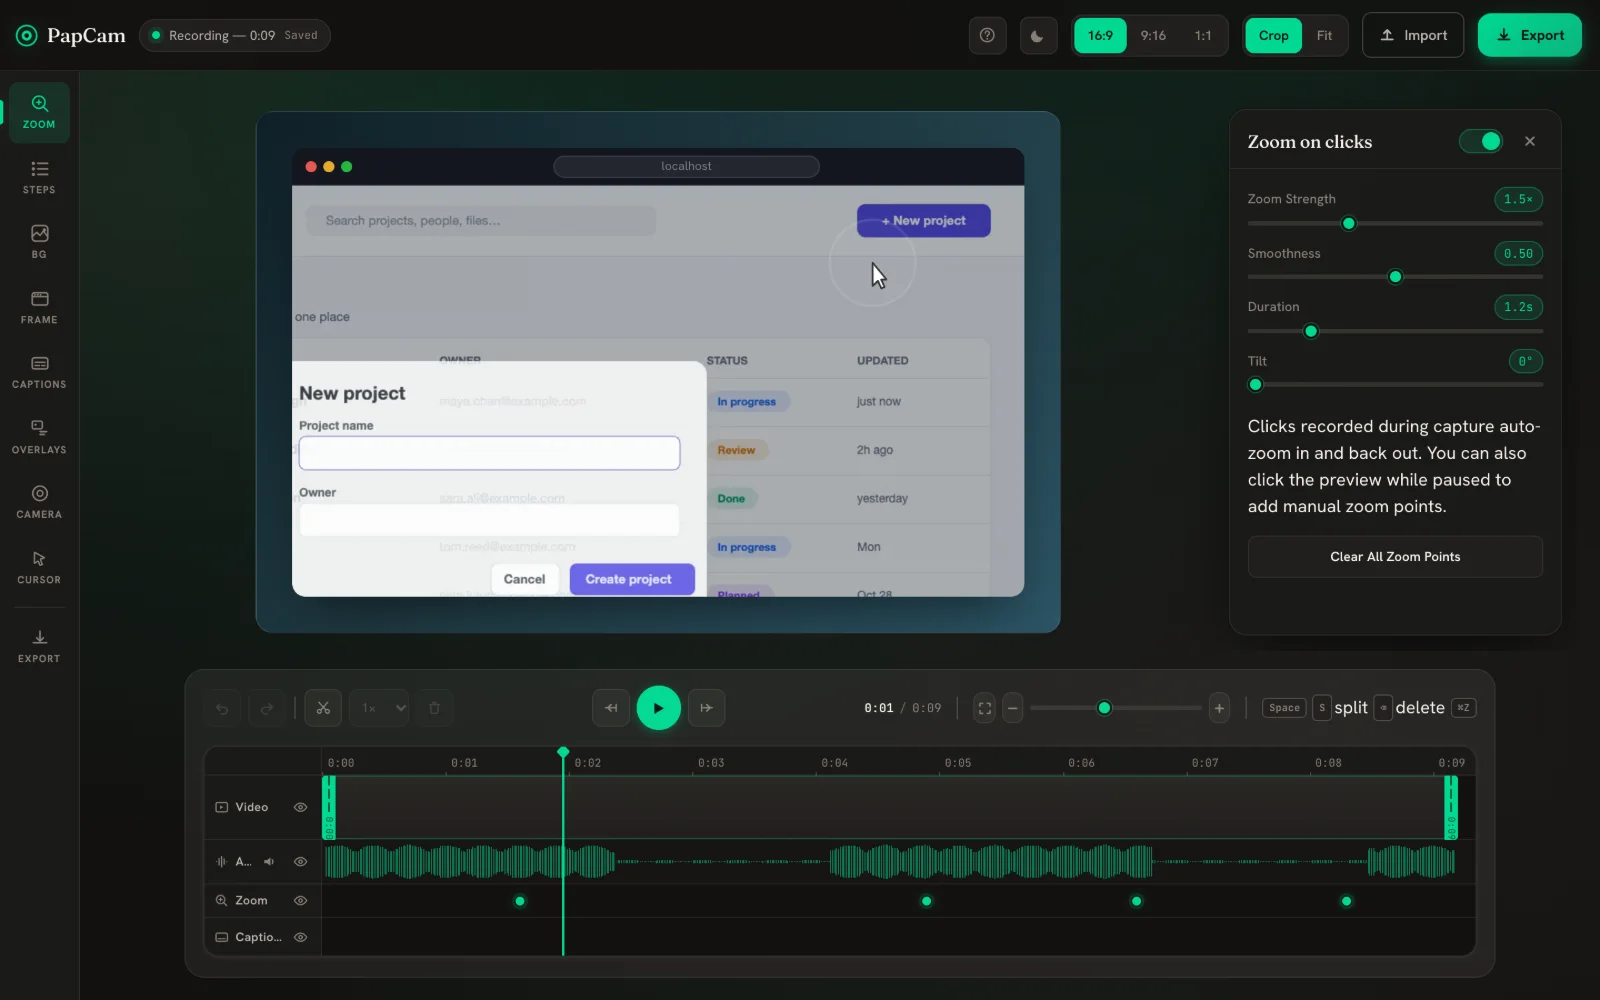
Every change saves automatically — the status next to the recording name says Saved. When you are happy with the result, open the Export panel and follow Export as MP4, WebM or GIF.
Where to go next
Most people tune three things first: the zoom on clicks, the background and browser frame, and trimming the start and end of the video.
Frequently asked questions
Is PapCam free?
Yes. PapCam is free to install from the Chrome Web Store.
Which source should I use for a product demo?
Use This Tab. It is the only mode that records your clicks and mouse path, so auto-zoom and the rendered cursor work without any extra editing.
Does paused time end up in the video?
No. Pause stops the recording clock, and the editor only shows the time you were actually recording.
Where does the recording go when I press Stop?
PapCam opens it in the editor in a new tab, ready to polish and export.
Related guides
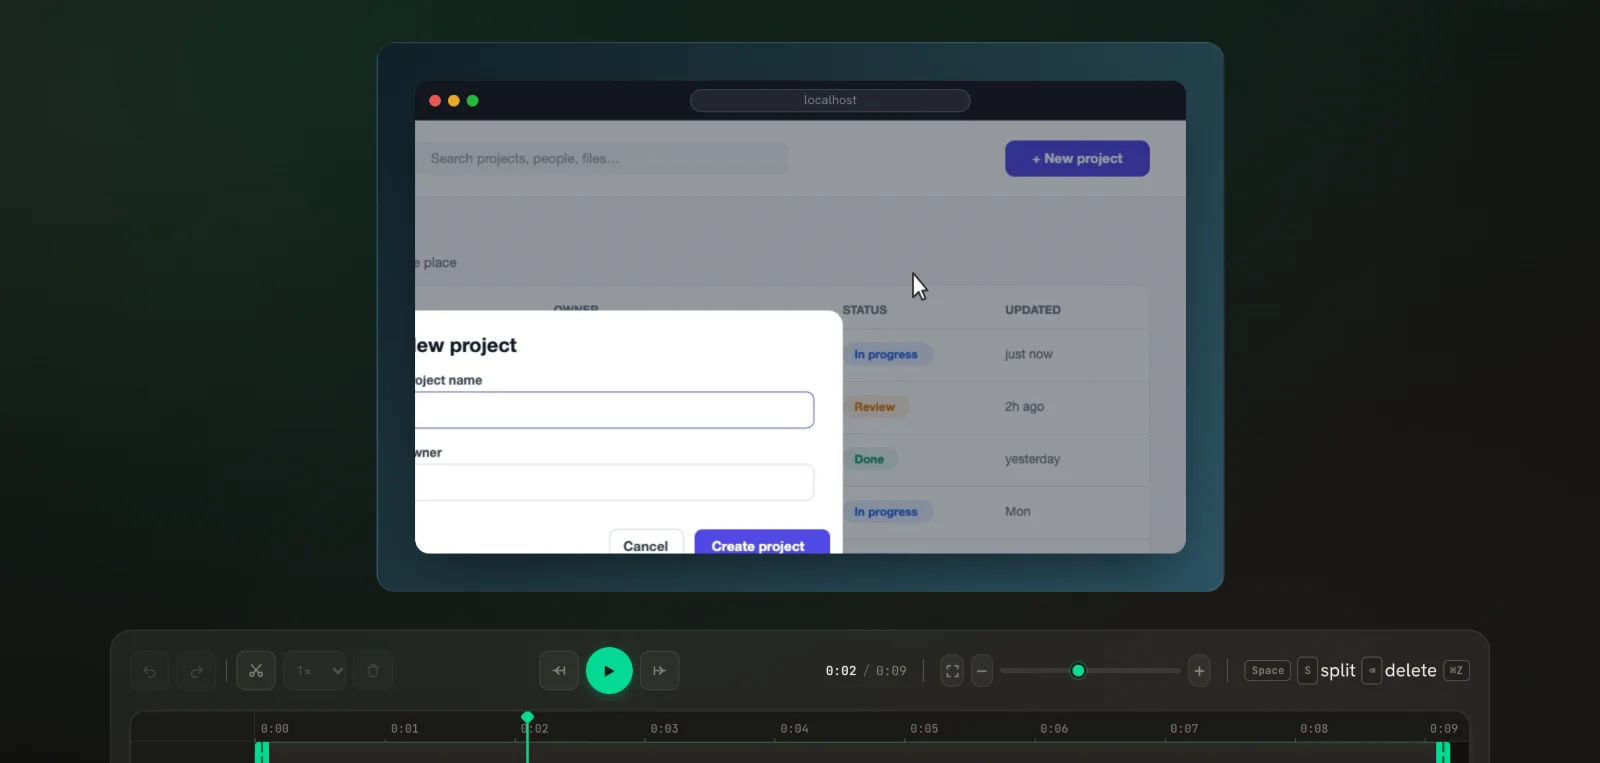 Auto-zoom on clicksPapCam zooms in on every click you made while recording. Tune it, or add zooms by hand.
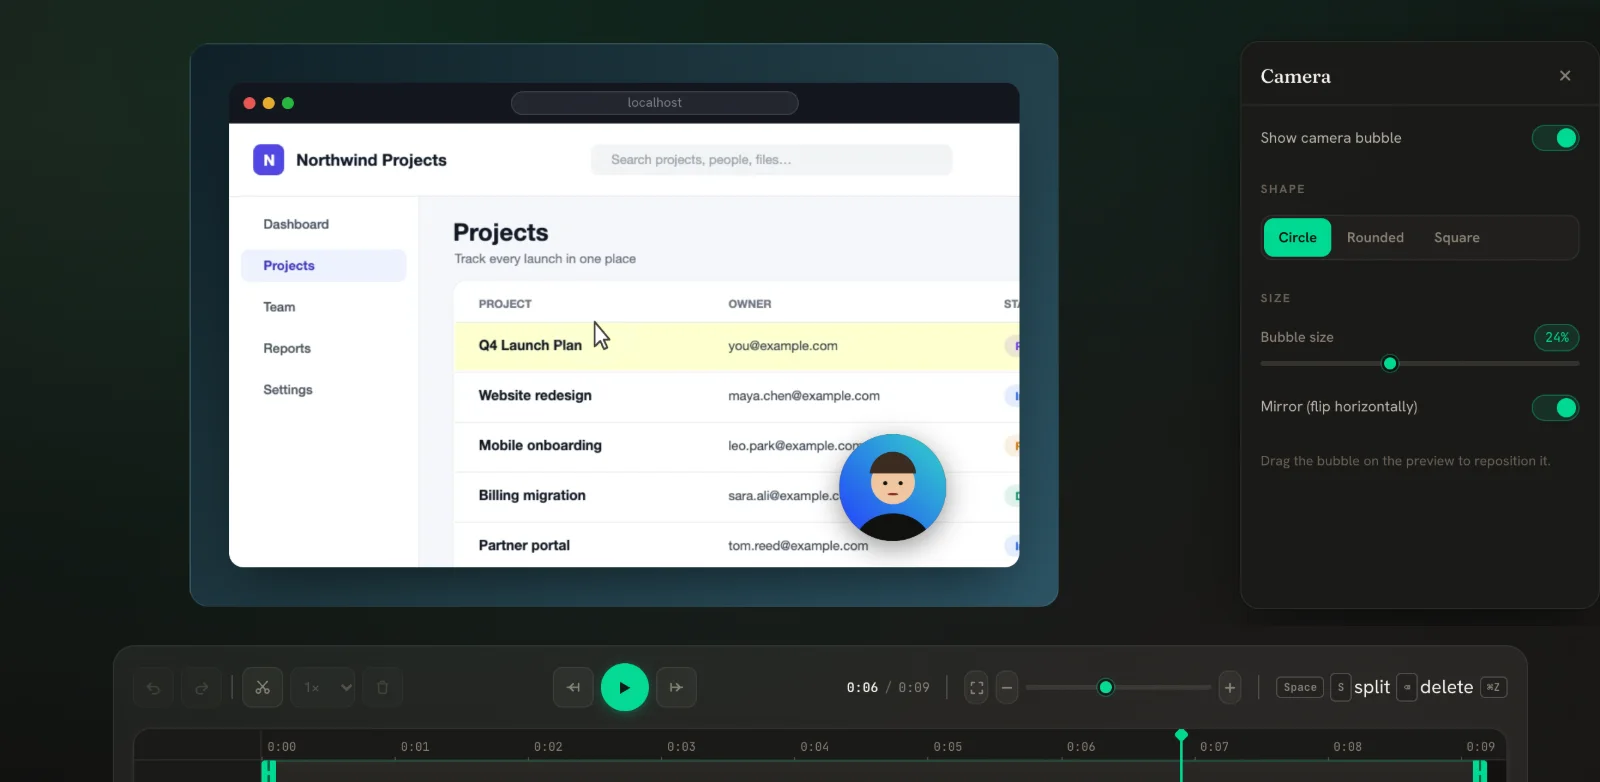 Webcam & microphone New in v0.5Record your voice and a webcam bubble, then reshape and move the bubble in the editor.
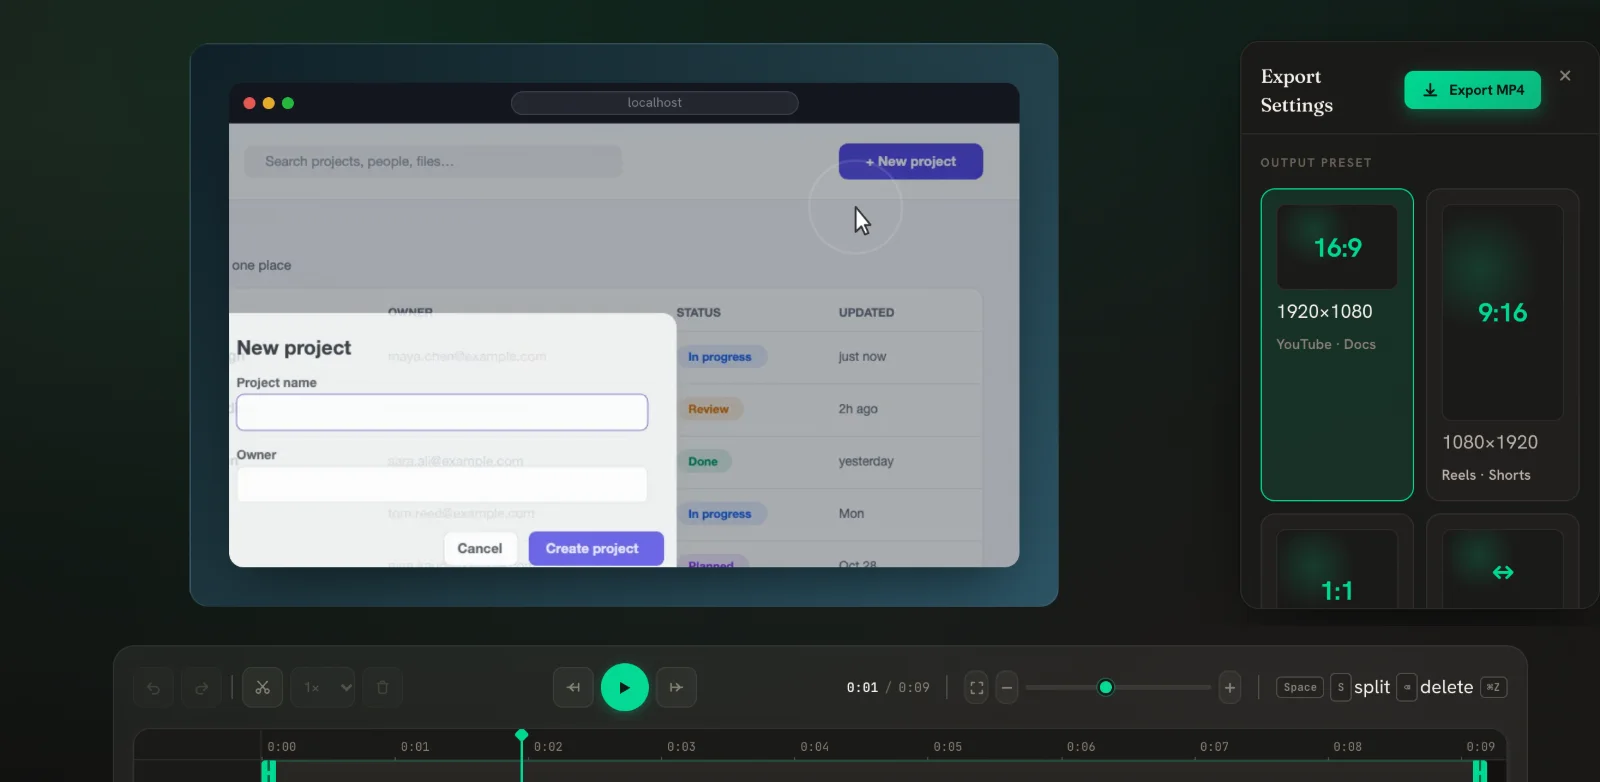 Export MP4, WebM & GIFPick a size for where the video will live, choose a format, and download.