Small buttons and menus are hard to see in a full-screen recording. PapCam fixes that automatically: when you record This Tab, every click you make becomes a zoom point, and the editor smoothly zooms in on it and back out. You don't have to keyframe anything.
How auto-zoom works
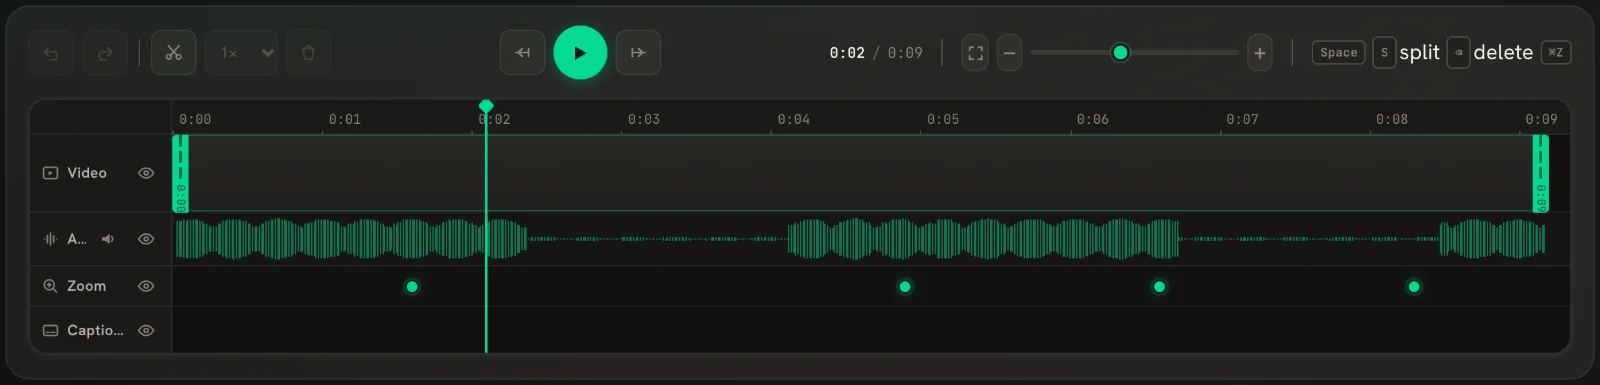
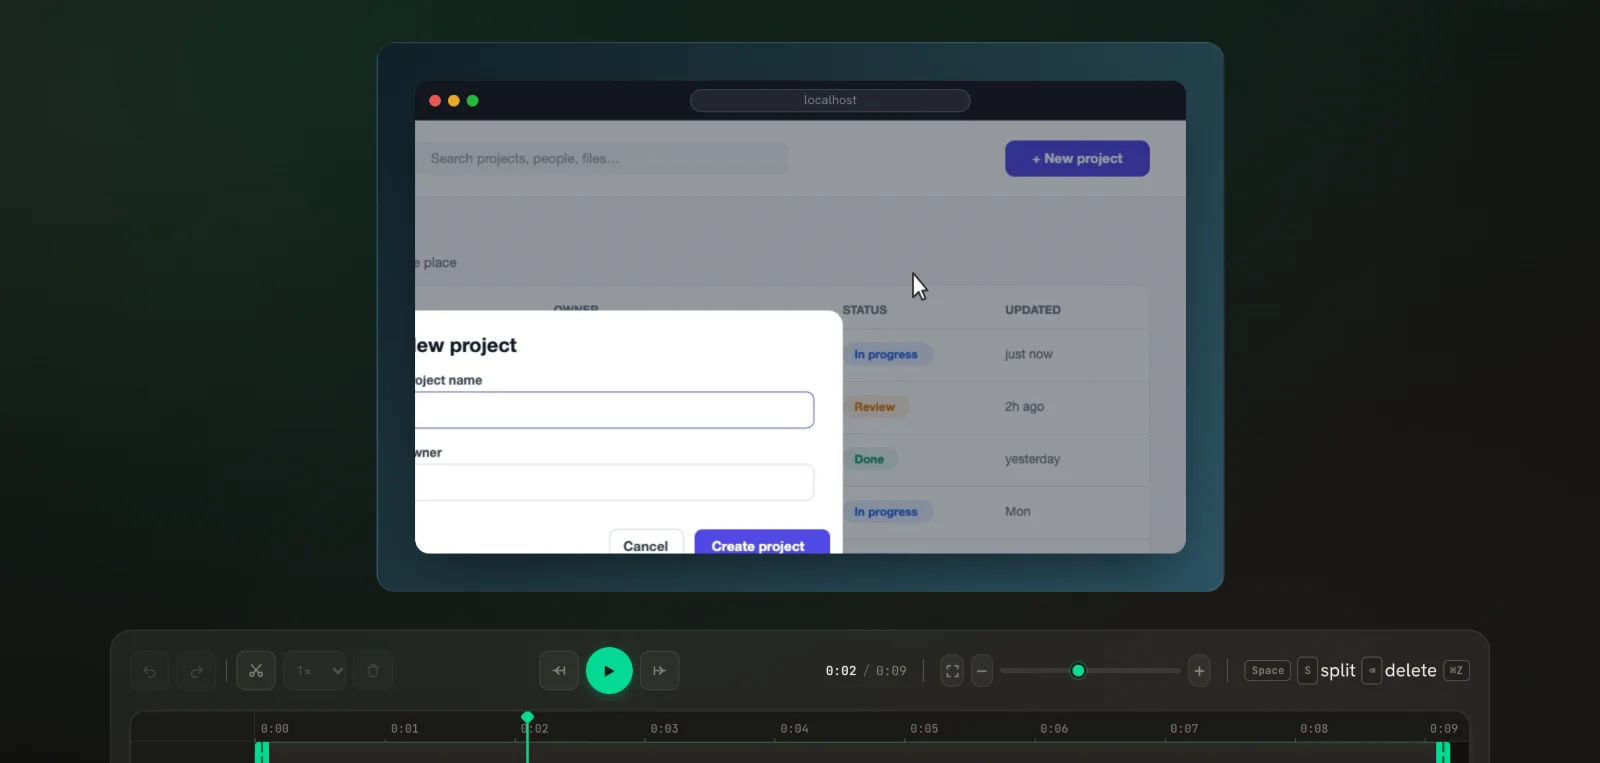
While you record a tab, PapCam notes where and when you click. When the editor opens, each click appears as a dot on the Zoom lane of the timeline. During playback and in the exported video, the view zooms toward that spot, holds briefly, then returns to the full frame.
Tune the zoom
Open the Zoom panel from the left sidebar. The panel title is Zoom on clicks, and the switch next to it turns auto-zoom on or off for the whole video.
- Zoom Strength — how far the view zooms in. 1.5× is a good default; go higher for tiny UI details.
- Smoothness — how gently the zoom eases in and out. Higher values feel calmer.
- Duration — how long each zoom lasts, in seconds.
- Tilt — adds a subtle camera tilt in degrees for a more dynamic, "product video" feel. Leave it at 0° for a straight look.
Changes apply to every zoom point immediately, so scrub the timeline or press Space to preview.
Add or remove zoom points by hand
- Add: pause the video, then click anywhere on the preview. PapCam adds a zoom point at the playhead, centred on where you clicked. This is how you add zooms to Window or Screen recordings, which don't record clicks.
- Remove one: click its dot on the Zoom lane. PapCam confirms with a toast — press ⌘/Ctrl + Z to bring it back.
- Remove all: click Clear All Zoom Points at the bottom of the panel. This is also undoable with ⌘/Ctrl + Z.
Example: a sign-up walkthrough
Say you record a two-minute sign-up flow with eight clicks. PapCam creates eight zoom points. Usually you keep the zooms on the fields and buttons that matter, delete the ones on "Next" buttons that need no explanation, and lower Zoom Strength slightly if the page has large text. For a vertical 9:16 export, a stronger zoom helps because the frame is narrower.
Tips for great zooms
- Click deliberately while recording. Every click is a zoom, so avoid nervous clicking on empty space.
- Pause for a beat after important clicks so the zoom has time to land.
- If two clicks are very close together, delete one dot so the camera doesn't jump.
- Combine zooms with a click highlight so viewers see exactly what was clicked.
Frequently asked questions
Why is there no auto-zoom in my screen recording?
Clicks are only recorded when you record This Tab. For Window or Screen recordings, pause the video and click the preview to add zoom points by hand.
Can I turn auto-zoom off?
Yes. Use the switch next to "Zoom on clicks" in the Zoom panel, or clear all zoom points.
Do zooms move my blur regions out of place?
No. Blur and spotlight regions follow the zoom, so hidden information stays hidden.
Does the export include the zooms?
Yes. MP4, WebM and GIF exports all render the zooms exactly as the preview shows them.
Related guides
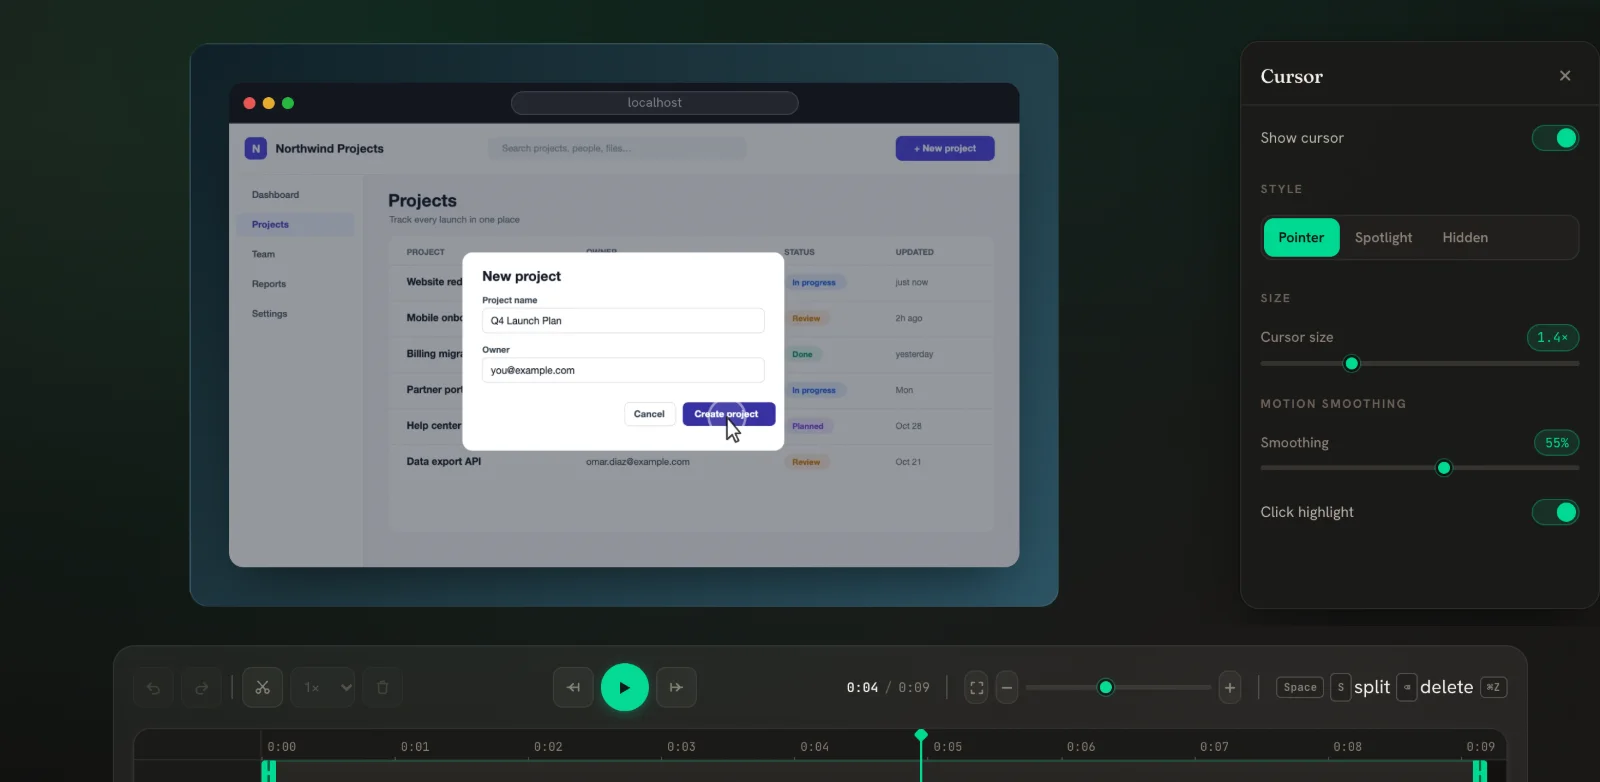 Cursor & click effects New in v0.5A smooth, crisp cursor with a click ring — redrawn from your real mouse path.
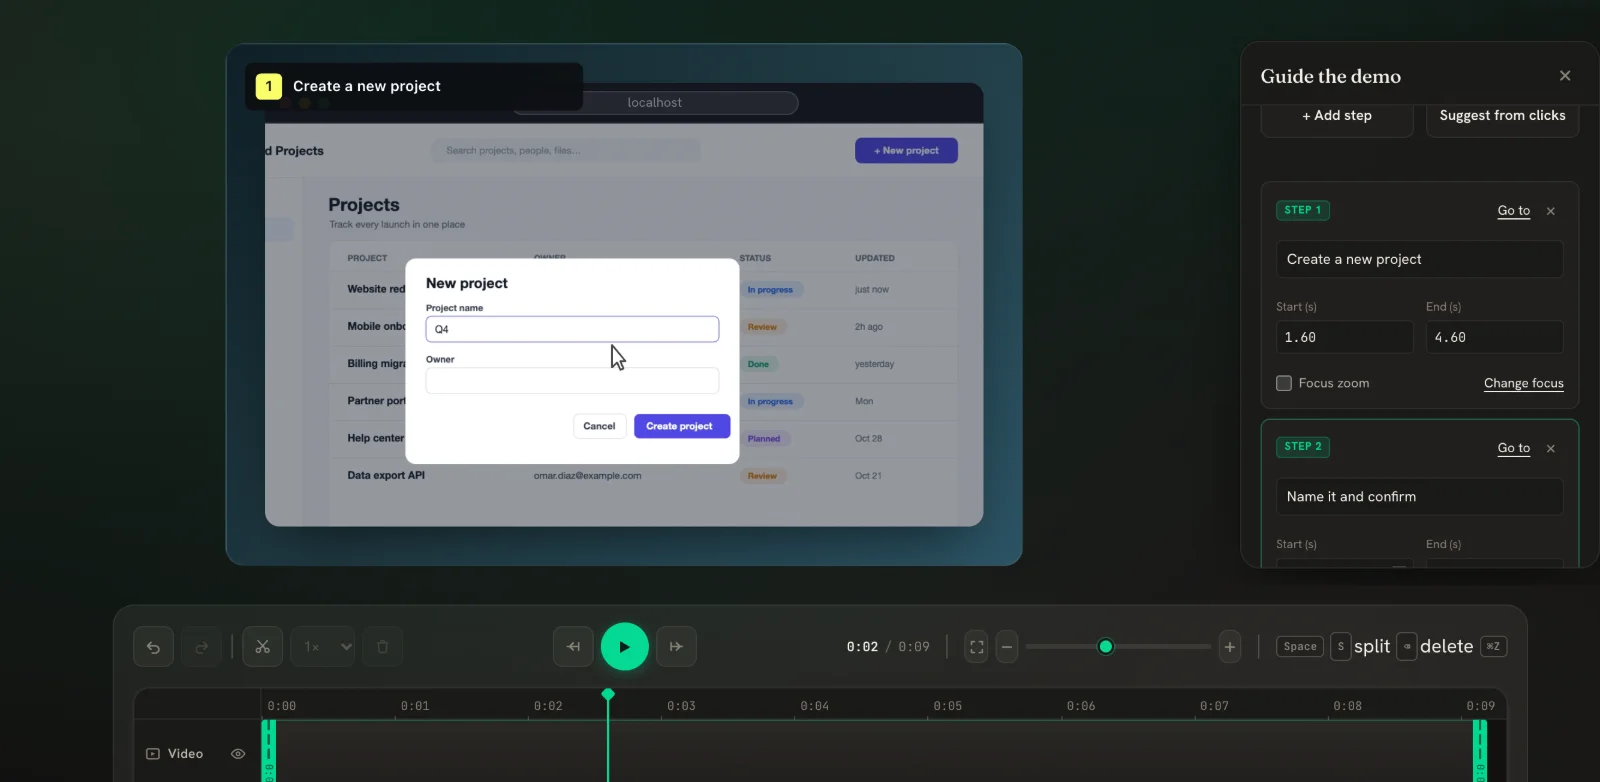 Guided demo steps New in v0.5Add numbered step cards to your video, or let PapCam suggest them from your clicks.
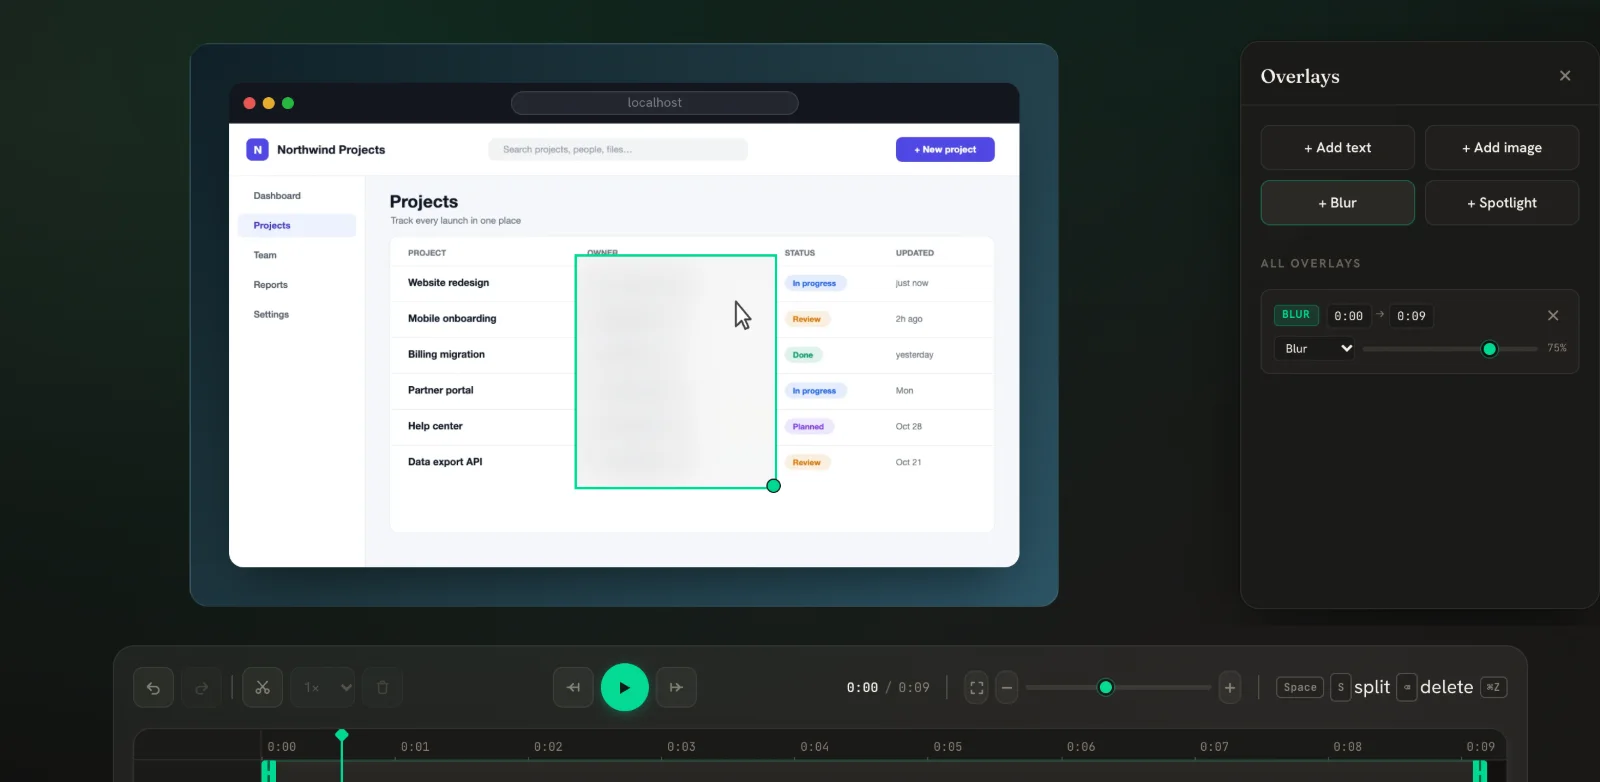 Blur & spotlight New in v0.5Blur emails and keys, or dim everything except one area. Regions stay put even when the video zooms.